You recorded your screen. The content is all there — the clicks, the workflow, the thing you're trying to show someone. But when you watch it back, it's just… flat. A tiny cursor moving across a giant screen. The viewer has no idea where to look.
What your recording needs is a zoom effect: a smooth, cinematic zoom-in that guides the viewer's eye to exactly what matters. It's the single biggest difference between a screen recording that people squint at and one that actually communicates.
The problem is that adding zoom effects has traditionally meant one of three things: buying expensive desktop software, learning a full video editor, or re-recording everything with a tool that auto-zooms (and hoping it guesses right).
None of that is necessary. Here's how to add zoom effects to any screen recording for free, directly in your browser.
The fast way: record and zoom in one step
The simplest approach is to use a tool that lets you record and add zoom effects in the same workflow — no exporting, no importing into a second app.
screenrecorder.one does exactly this. Here's the full process:
Step 1: Start recording. Go to screenrecorder.one and click "Start Recording." Choose whether to capture a tab, a window, or your full screen. Pick your audio source — mic, system audio, both, or none.
Step 2: Do your thing. Walk through whatever you're demonstrating. Don't worry about being perfect — you can cut mistakes later.
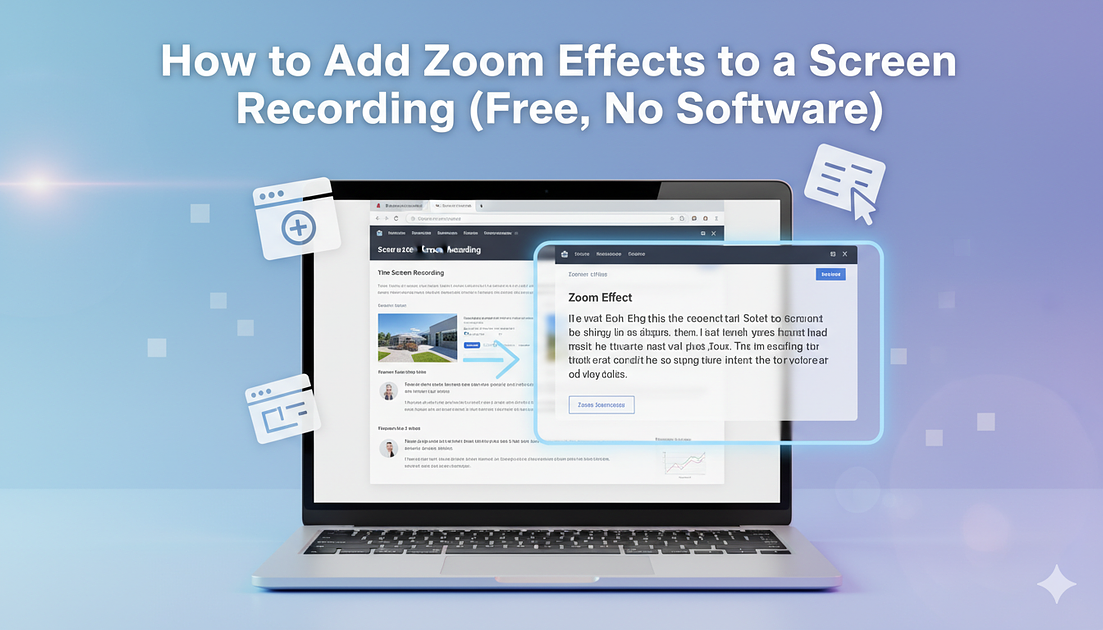
Step 3: Add zoom effects. When you stop recording, the editor opens automatically. Play through your video and click on any spot to add a zoom point. The tool creates a smooth, animated zoom-in to that area. You control the zoom level (up to 2x) and the speed of the animation (fast, medium, or slow).
Want to zoom into the button you just clicked? Click on it in the editor. Want to zoom into an error message in the corner? Click there. Each zoom point creates a cinematic zoom-in and zoom-out — no keyframing, no timeline scrubbing, no manual animation.
Step 4: Export. Hit "Render Video" and download a clean MP4 with all zoom effects baked in. The file works everywhere — Slack, email, Twitter, YouTube, Google Drive.
That's it. The whole process takes about a minute on top of however long your recording is.
What makes a good zoom effect
Not all zoom effects are created equal. A jarring, instant zoom is almost worse than no zoom at all. Here's what separates a professional-looking zoom from an amateur one:
Smooth easing. The zoom should accelerate into the movement and decelerate out of it — the same way a camera operator would physically move a camera. A linear zoom (constant speed from start to finish) looks robotic. A well-eased zoom feels natural and cinematic.
Appropriate zoom level. Zooming in too far pixelates the image and disorients the viewer. Zooming in too little defeats the purpose. For most screen recordings, 1.5x to 2x is the sweet spot — close enough to see detail, far enough to maintain context.
Intentional timing. Zoom in before the action, not after. If you're about to click a button, the zoom should land on that button a beat before the click happens. This guides the viewer's attention proactively rather than chasing it.
Zoom back out. Every zoom-in needs a zoom-out. Staying zoomed in for the entire recording is just as bad as never zooming. The rhythm of zoom in → show the detail → zoom back out creates a natural flow that keeps viewers engaged.
When to use zoom effects
Zoom effects aren't appropriate for every recording. Here's where they make the biggest difference:
Product demos. You're showing off a feature. Zooming into the UI element you're demonstrating makes the feature visible and the demo feel polished. This is especially important for recordings you'll embed on a landing page, share with prospects, or post on social media.
Bug reports. You found a bug and you're sending a recording to your team. Zoom into the error message, the unexpected behavior, or the console output. Your engineer gets context immediately instead of scrubbing through a full-screen recording looking for the problem.
Tutorials and walkthroughs. You're teaching someone a multi-step process. Zooming into each step as you perform it is the visual equivalent of saying "now look here." It reduces cognitive load and makes the tutorial dramatically easier to follow.
Onboarding documentation. New team members watching a walkthrough of your internal tools benefit enormously from zoom effects. The difference between "here's a 3-minute recording of me using the admin panel" and "here's a 3-minute guided tour of the admin panel" is entirely about where the viewer's attention is directed.
Social media clips. Screen recordings on Twitter, LinkedIn, or YouTube are watched on phones. Without zoom, fine UI details are invisible on a small screen. Zooming in makes your content actually readable on mobile.
What about other tools?
There are several approaches to adding zoom effects to screen recordings. Here's an honest comparison so you can pick what works best for your situation:
Screen Studio ($89, Mac only) — the gold standard for cinematic screen recordings on Mac. It auto-zooms based on cursor movement and produces gorgeous results. If you're on a Mac, don't mind paying, and want auto-zoom that just works, it's excellent. The limitation is platform and price.
FocuSee (free tier + paid, Windows & Mac) — a desktop app with auto-zoom that tracks your cursor. Good if you want automatic behavior and don't mind installing software. The free tier has limitations on export quality.
Cursorful (free tier + paid, browser extension) — a Chrome extension that records your browser with auto-zoom on clicks. Works well for browser-only recordings but can't capture desktop apps.
Video editors (DaVinci Resolve, Premiere, CapCut, etc.) — you can manually add zoom effects to any recording by keyframing scale and position. Full control, but it's time-consuming and requires editing skills. A 30-second clip can take 15–20 minutes to add proper zooms.
screenrecorder.one (free, browser-based) — record and add manual zoom effects in one workflow. No install, no account. You click where you want to zoom and it handles the animation. The tradeoff is that zooms are manual (you choose where), not automatic (cursor-following). For many use cases, manual control is actually better because you zoom into exactly what matters, not every stray click.
Common mistakes to avoid
Zooming into everything. If every moment is zoomed, nothing stands out. Use zoom effects selectively — 2 to 4 zoom points in a 60-second recording is usually plenty.
Forgetting to blur sensitive info. While you're adding zooms, you might notice a Slack notification, a password field, or a personal email on screen. If your tool supports it (screenrecorder.one does), blur those areas before exporting.
Leaving in dead air. Zoom effects make the important parts look great, but they also highlight when nothing is happening. If there's a 5-second gap where you're looking for the right tab, cut it out. Zoom + cut + blur is the complete editing trifecta for screen recordings.
Exporting at low quality. A cinematic zoom effect into a pixelated, compressed recording looks worse than no zoom at all. Record at the highest quality your tool supports and export as MP4 for broad compatibility.
Try it now
Adding zoom effects to your screen recordings doesn't need to be complicated. You don't need a Mac app, a video editor, or a tutorial on keyframing.
Go to screenrecorder.one, hit record, and click where you want to zoom. Your next screen recording will look like it was made by someone who knows what they're doing — because you do.